
The simplest approach to view and browse live and recorded video of one or more GeViScopes is to remote control GSCView out of custom solutions.
GSCView can be used in a special mode so that it can be controlled by actions that are sent from a GeViScope server. The actions can be channeled into the system using the SDK (GSCDBI.DLL and GSCActions.DLL) in custom applications. As an alternative the actions can be sent to the TACI interface of the GeViScope server. The TACI interface is a media plugin of the GeViScope server, which can receive actions as ASCII text commands similar to a TELNET communication. The TACI plugin has to be licensed.
The following step by step instructions show how to configure a simple system to demonstrate remote controlling GSCView. The virtual test environment included in the SDK should be successfully installed and set up before following these instructions (see topic Setting up a virtual test environment).
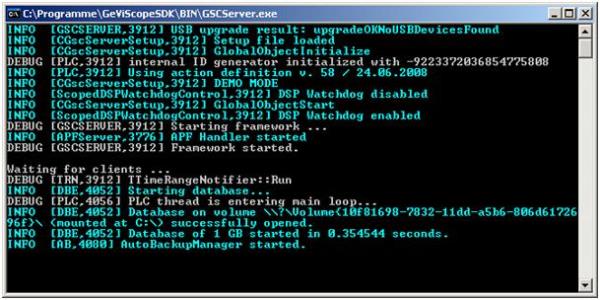
Step 1: start the GeViScope server
Start the server by double clicking on file “\BIN\GSCServer.exe“. Now a console application should start.
Step 2: start GSCView
Start the GSCView software (file “\BIN\GSCView.exe”).
Step 3: start the profile manager
The menu entry “Options – Profile manager…” starts the internal profile manager of GSCView. The profil manager allows configuring all GSCView settings.
Step 4: declare local connection as “connect automatically”
By selecting “Connections” in the section “Resources” the local connection can be declared as a connection that is automatically built up after starting GSCView. Additional the option “Reconnect automatically” should be activated.
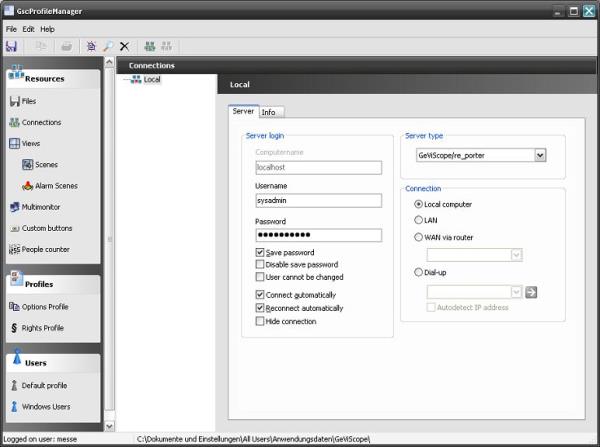
If the connection is open in GSCView or GSCSetup, the settings of the connection cannot be changed. Close all local connections at first to be able to change the connection settings.
Step 5: configure GSCView to be able to remote control it by actions
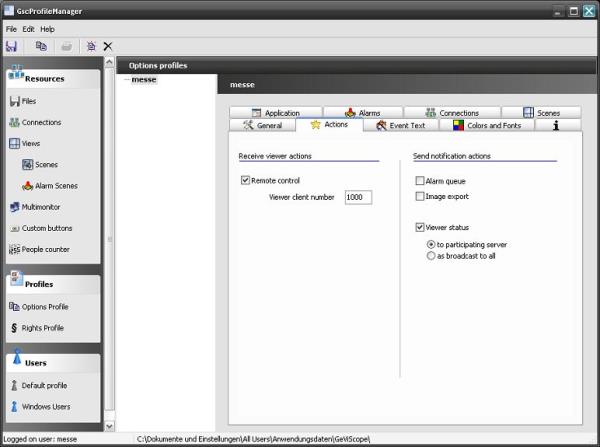
The entry “Options profile” in the section “Profiles” shows a tab control with a lot of different GSCView settings. To be able to remote control GSCView the option “Remote control” on the “Actions” tab has to be set.
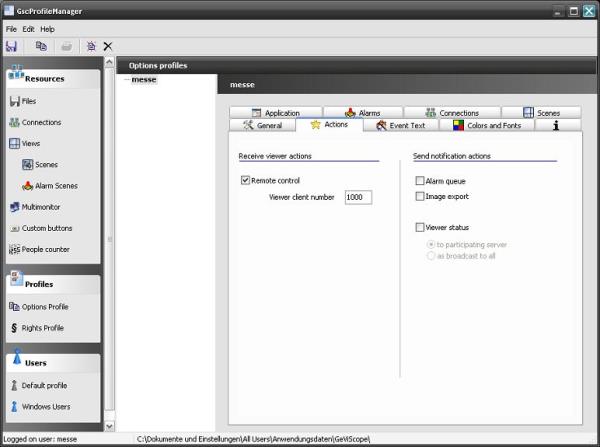
The “Viewer client number” should be set to a arbitrary global number that is unique in the whole system. This global “Viewer client number” identifies this special instance of GSCView in the whole network. The number is used in different actions to remote control GSCView.
By contrast the “global number” of a viewer in a custom scene identifies a special viewer in a user defined scene. Details about user defined scenes will be topic of the next step.
Step 6: user defined scenes
To define user defined scenes in GSCView the entry “Scenes” in section “Resources” should be selected. By right clicking on one of the predefined scenes new user defined scenes can be created. For this step by step example two new scenes with the names “MyStartScene” and “MyScene” have to be added. With the button “Edit scene” the global numbers of the viewers of the scene and the video channels that should be displayed can be set.
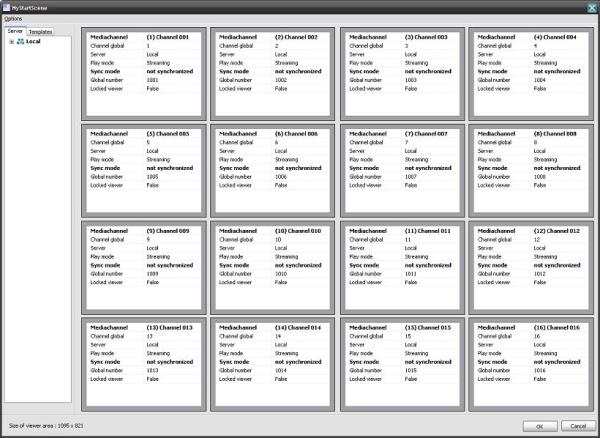
The “MyStartScene” should be based on the “Matrix 4x4”. The viewers should have the global numbers 1001 to 1016. Each viewer should display live pictures of a video channel of the local connection. The video channels can be set via drag & drop while editing the scene.
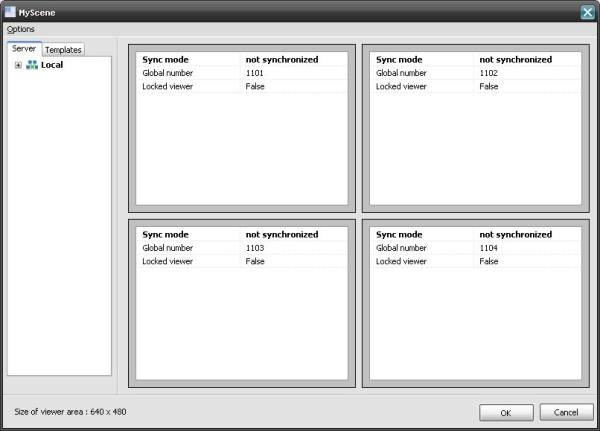
The “MyScene” should be based on the “Matrix 2x2” and the viewers should have the global numbers 1101 to 1104. The viewers should not automatically display any video channel. They will be used by special actions to display video channels.
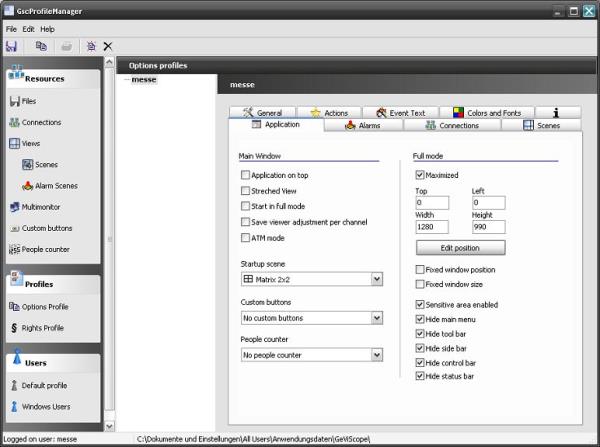
Step 7: modify the appearance of GSCView
The appearance of GSCView can be controlled by different settings in the entry “Options profile” of the section “Profiles”. For this test scenario, GSCView should appear as a stupid video wall without any user controls directly visible in the GSCView application window. To achieve this, the following options on the “Application” tab have to be set:

Please keep in mind, that if the option “Sensitive area enabled” is not set and if all “Hide…” options are set, the main menu of GSCView only can be accessed by pressing F10!
Step 8: save all settings
All settings should be saved by selecting the menu entry “File – Save”.
Step 9: test the system with GSCPLCSimulator
After restarting GSCView it should appear in full mode with 16 viewers displaying live pictures of the video channels of the local connection.

Now start the software “\BIN\ GSCPLCSimulator.exe” to test the system. The GSCPLCSimulator serves as a monitoring tool for all messages (actions) and events that are transported inside the complete system. Furthermore actions can be triggered and events can be started and stopped.
After its start the connection to the local server should be build up automatically and all action traffic is displayed in a list.

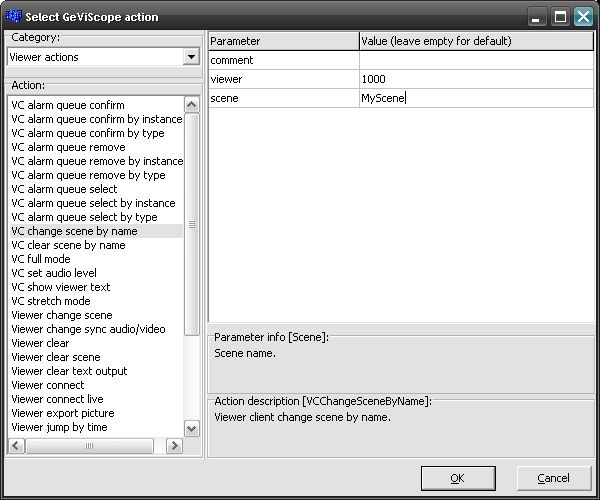
With the button “Dialog” an action can be selected and with the button “Send” this action can be send to the GeViScope server. For testing the system first select the action “VC change scene by name” in the category “Viewer actions” to display “MyScene” on the GSCView with the global “Viewer client number” 1000.
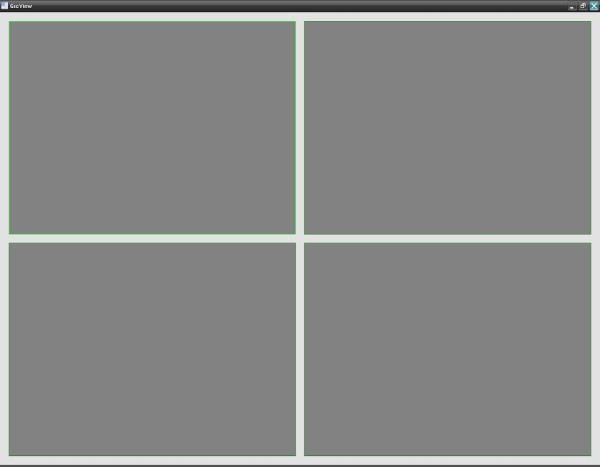
After sending the action, GSCView should display an “empty” “MyScene”.
To display video channels in the viewers of “MyScene” the action “Viewer connect live” can be used. The parameter “viewer” now means the global number of a viewer of “MyScene”, e.g. 1102. The parameter “channel” should be set to the global number of the video channel that should be displayed, e.g. 2.
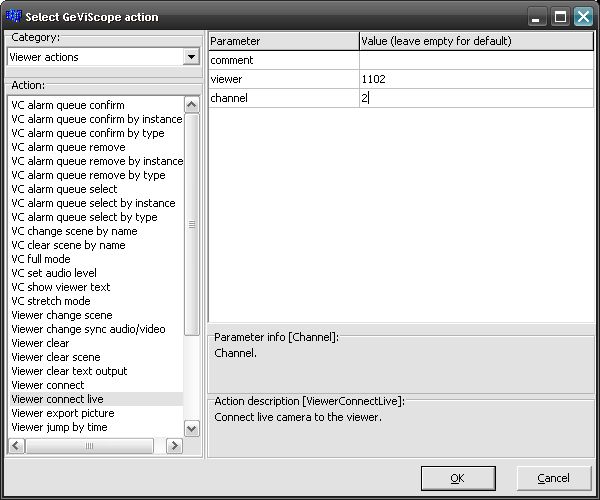
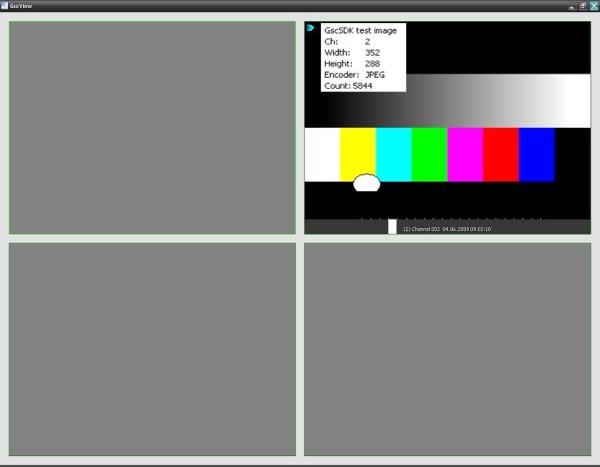
After sending the action, GSCView displays live video of the video channel 2 on the upper left viewer in GSCView.
In GeViScope systems actions are used to communicate between the GeViScope server and any client application. All available actions can be divided into three groups:
Notification actions (for example “User Login”), command actions (for example “Viewer connect live”) and logical actions (these actions are not directly created by the GeViScope server and they don’t directly result in any reaction in the GeViScope server, for example “Custom action”).
All actions are grouped in different categories. The category “Viewer actions” contains all actions that are relevant for remote controlling GSCView.
To get notifications about GSCView activities, one of the options “Send notification actions” in the profile manager of GSCView has to be set. All possible notification actions are collected in the action category “Viewer notifications”.
More detailed information about all available actions can be found in the topic “Action documentation” (especially Viewer actions and Viewer notifications).
Please be aware of the fact that GSCView is working in an asynchronous mode. If a custom application sends an action, that depends on the result of the previous sent action there may be the need for inserting a pause time before sending the second action (e.g. send action “Viewer connect live”, wait one second, send action “Viewer print picture”). GSCView does not have an input queue for remote control actions.